
Disclaimer – This post may contain affiliate links, which means I’ll receive a commission if you purchase through my link, at no extra cost to you.
If you’re new to bullet journaling and don’t know where to begin, this is the post for you! Here, you’ll learn how to create a bullet journal key, index page and set up the first page of your bujo.
Don’t worry, you don’t have to be particularly creative to get this right!
This is, by the way, Day 2 of a 10-Day Bullet Journal Series For Beginners. So, if you’re new to bullet journaling and find it difficult, starting from Day 1 would be beneficial for you.
Here are all your resources,
Day 1 – How To Start A Bullet Journal For Not-So-Creative Beginners
2nd Day – You’re Here!
Day 3 – How To Create A Future Log In Bullet Journal
Day 4 – How To Create A Future Goals Page In Your BuJo
On Day 5 – How To Create Bullet Journal Quotes Page and More
Day 6 – Must Have Bullet Journal Pages For A Better 2022
Day 7 – How To Create A Bullet Journal Monthly Spread
On Day 8 – Bullet Journal Habit And Mood Tracker Ideas
Day 9 – Simple Bullet Journal Weekly Spread Ideas For Beginners
Day 10 – 15 Easy Ideas For Bullet Journal Collections
Today’s Agenda
If you’re through Day 1, I hope you have a list of pages you want to create in your bujo. Today, we’ll start with the first 3 pages. All of these are components of Ryder Carroll‘s original bullet journaling system.
You’ll create,
- An Introduction Page
- A Key Page
- An Index
These terms might sound confusing right now, but by the end of this post, you’ll know exactly what I’m talking about.
But first, let’s go over the supplies you’ll need.
Bullet Journal Supplies
To start a bullet journal, you’ll need:
1. A Notebook
Firstly, you need a notebook. You can use a ruled, dotted, or blank notebook. You don’t even have to purchase a new one.
In fact, if you’re a newbie and aren’t confident in your creative abilities, I’d prefer if you got a rough notebook. It doesn’t have to be anything fancy.

Remember, what we discussed yesterday? You only need to concentrate on the benefits of bullet journaling, and the creativity will follow.
“Focus on how it feels, not how it looks.”
There are numerous bujos on the market, such as this one. However, using a fancy notebook will cause you to limit your creativity. You wouldn’t want to experiment and would want to ensure that everything in your precious notebook looks perfect. As a stationary enthusiast, I can attest to this!
2. Pens
Next, you need a pen. You can start with a standard black ball point pen and build your collection over time. You can also buy colored markers or brush pens, but it’s not necessary.
3. Decorative Material
Use anything that your creativity allows. There are no rules here! You can use washi tapes, scrap paper, sketch pens, or pictures. You can also opt for a minimalistic style and work with 2 colors.
4. Bullet Journal Templates
Bujo template packs can save you a lot of energy and time, specially if you’re just getting started. Here, I created a bullet journal template pack with 35+ templates for you! You can download this for FREE here.
Create A Bullet Journal Key, Index And First Page
Now that you’ve gathered your supplies, let’s get started!
All of these pages form the foundation of your bujo. You can skip these pages entirely if you prefer. However, because you are a beginner, you should include these pages in your journal. And then decide whether or not they are useful to you.
1. Introduction Page
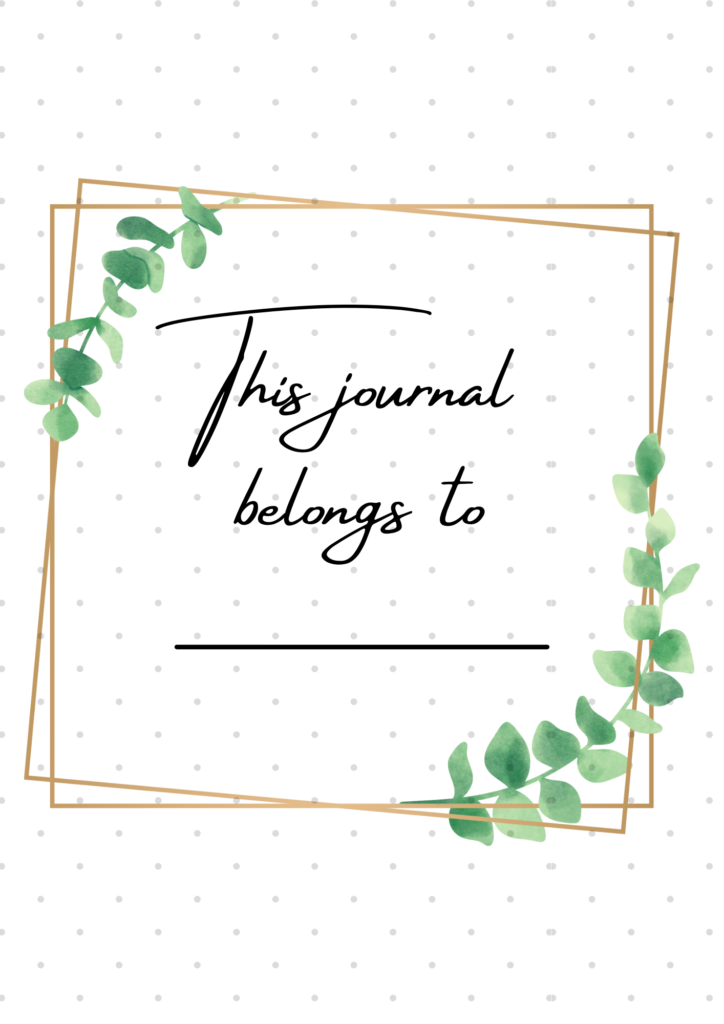
This is your journal’s first page. It usually includes your name and, if necessary, some additional information.
There’s not much to do here. Simply write, “This journal belongs to (your name)”. Here’s my simple Intro Page.
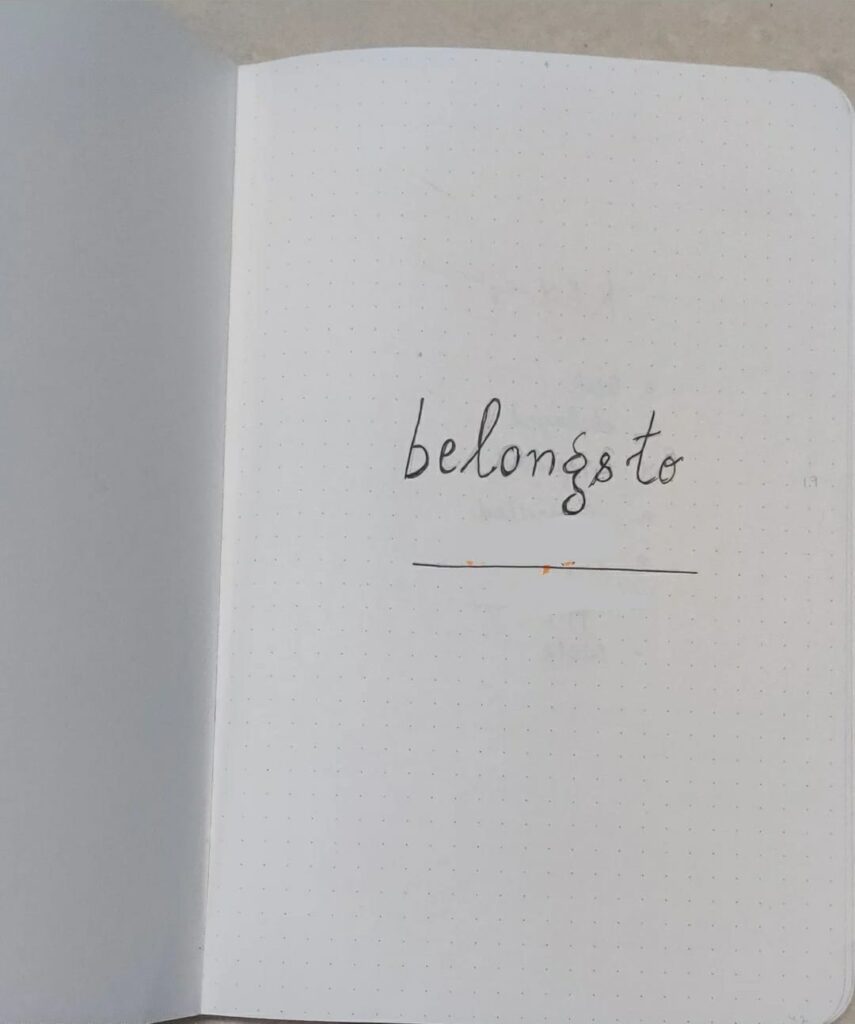
If you take this journal with you when you leave the house, you can also include your phone number so that you can be contacted if it gets misplaced.
Here’s another digital template for your Introduction Page.
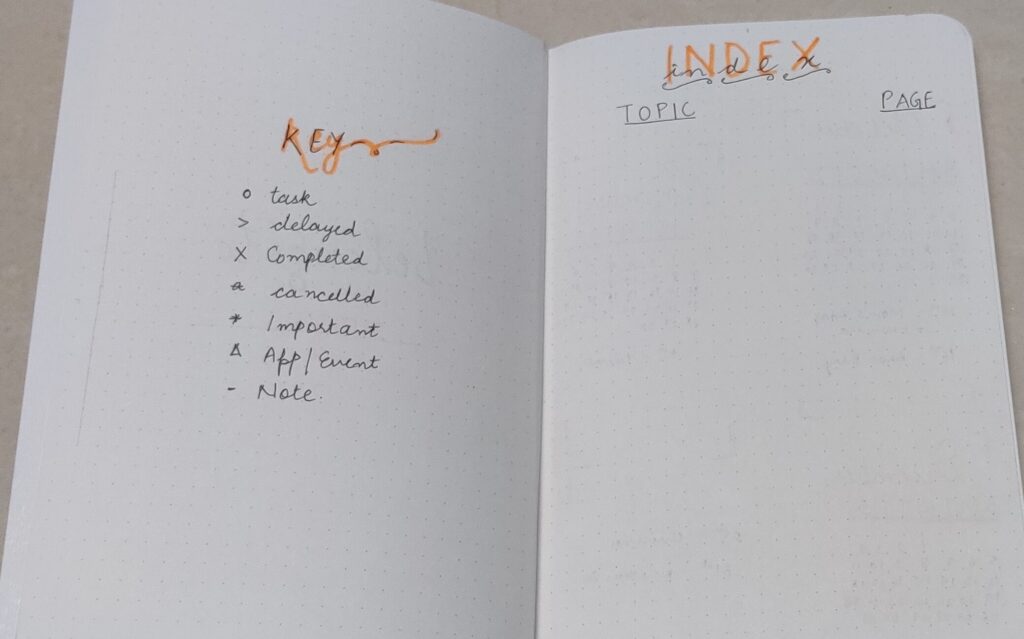
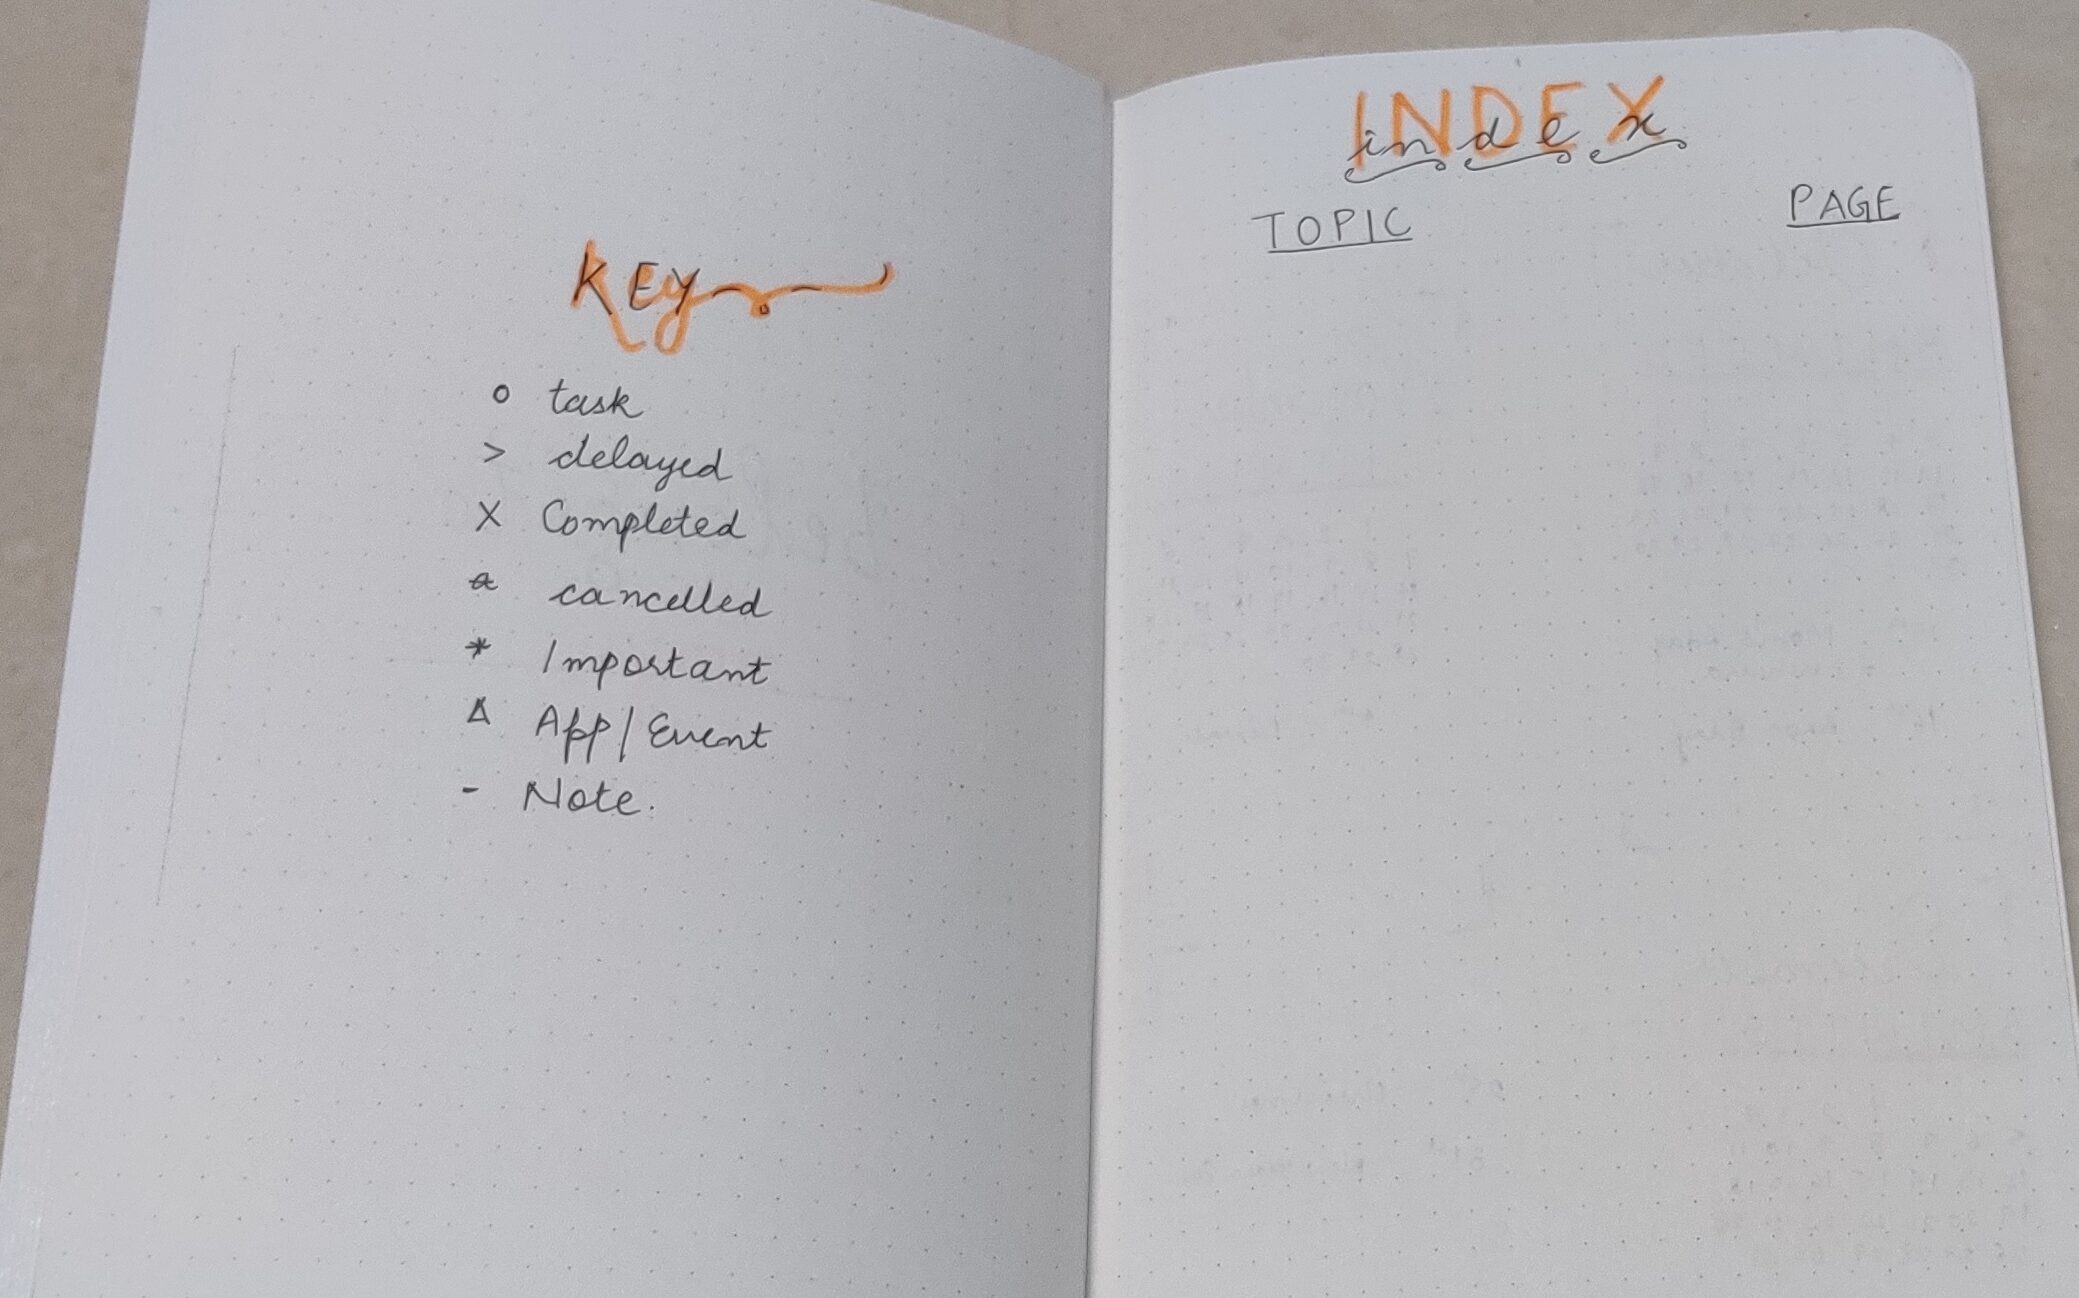
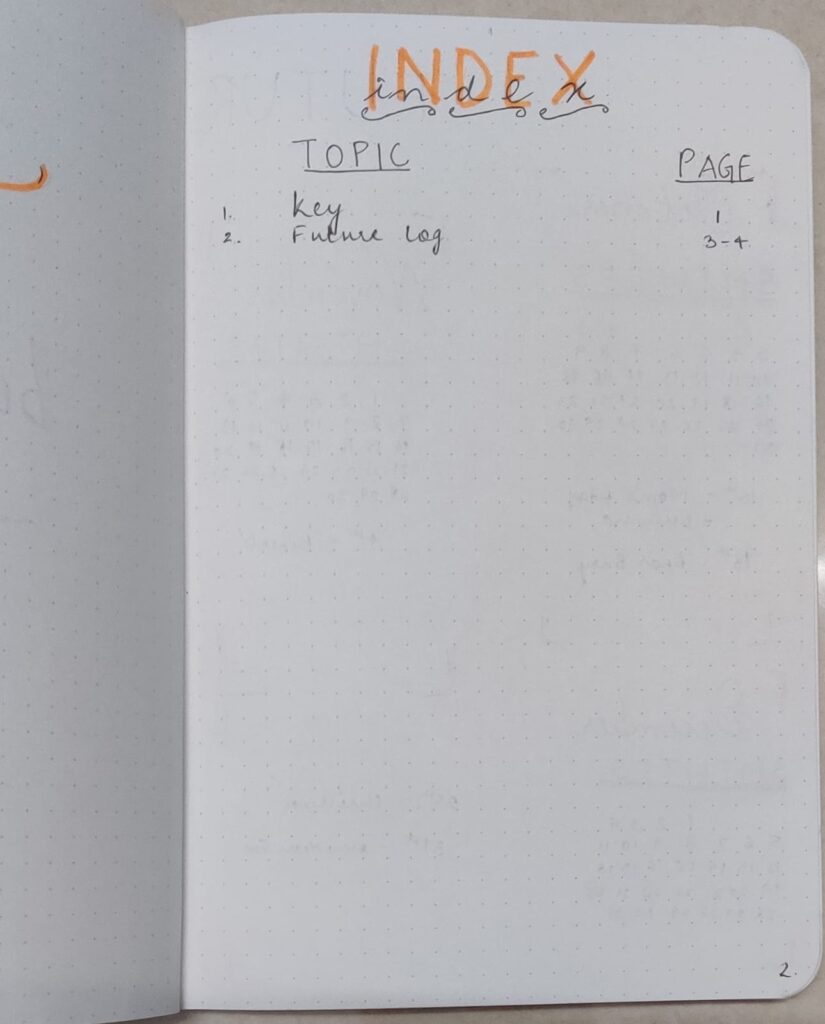
2. Bullet Journal Index Page
Flip the page over and set aside the next 2-4 pages of your journal for Index.
This page is similar to any other book’s index page. Basically, you write your topics on the left side and the page number on the right.
This allows you to easily navigate through your journal rather than flipping through the journal every time you need to find something.
As a beginner, you can leave 3-4 pages for Index, since you don’t have a clear idea yet.
Designing A Bullet Journal Index Page
There’s isn’t much to design on this page too. Simply write Index at the top. Divide the page into two columns: one for page numbers and one for the page title.
Note : If you’re not good at lettering, use stencils or draw with pencils first. Then, finish your designs with a marker.
Here are a few ideas,
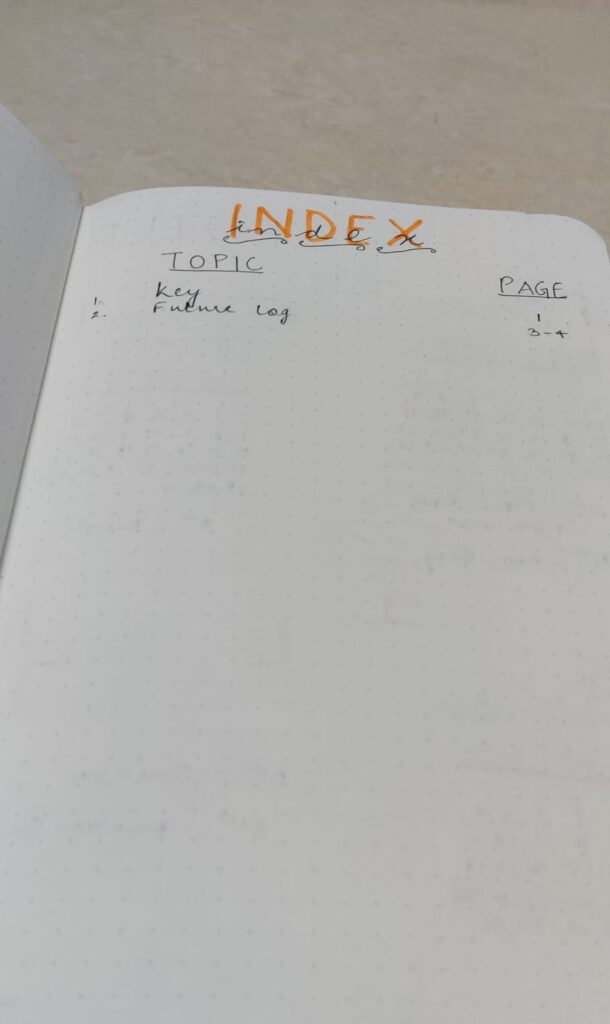
This is a basic Index Page for my new bujo.
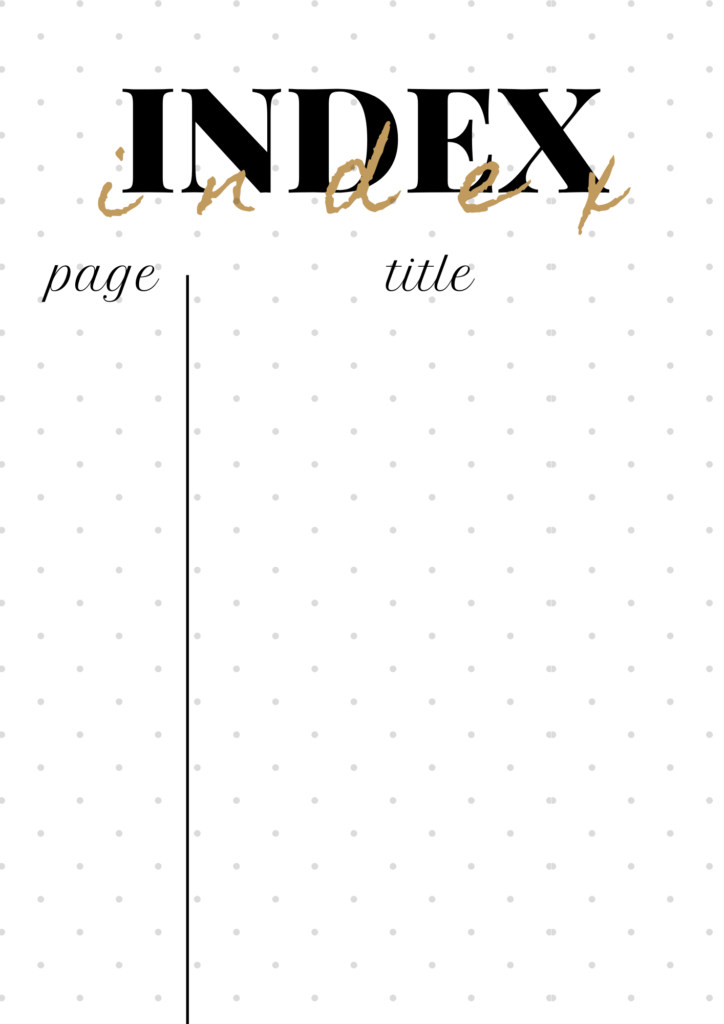
Here’s another template for Index Page.
Many people also do not use bujo indexes. If you think you don’t need an index page, consider this.
Use an Index Page If . .
- You have a thick notebook
- If your journal isn’t too artistic.
- If your journal pretty much looks the same. Say, you follow a minimalistic theme.
- If you have a habit of going through old journals. For example, when you start a new journal, you copy your birthdates and events log from an old one.
Do Not Use an Index Page if . .
- You have a very thin notebook.
- You color code your layouts.
- When you love flipping through your journal.
- When all your pages look pretty different.
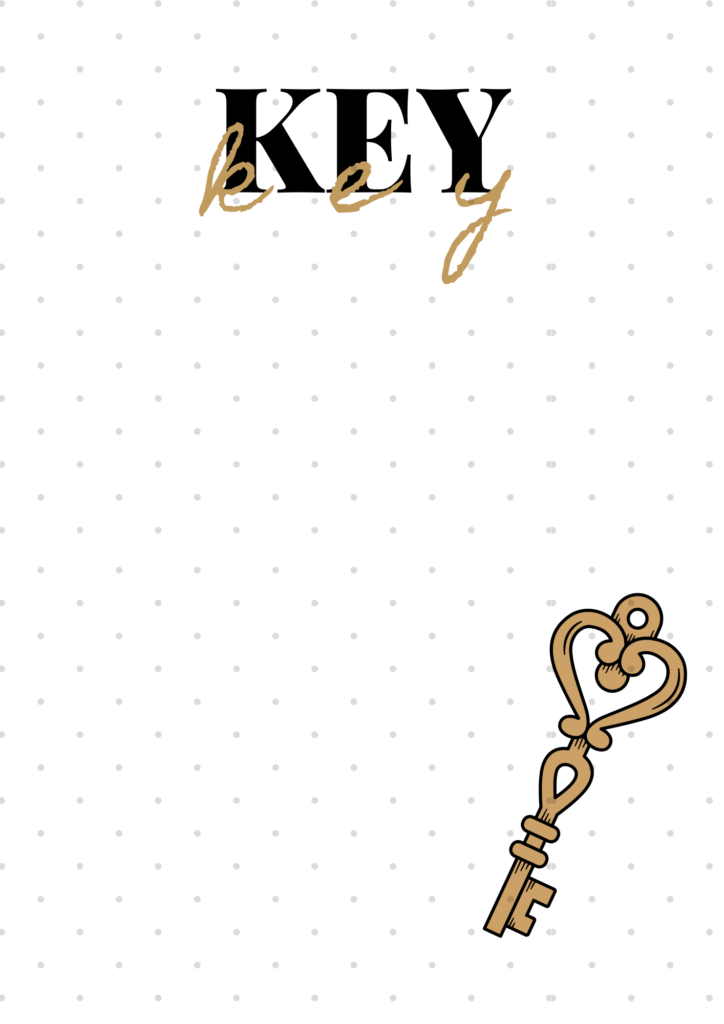
3. Bullet Journal Key Page
Bullet Journal keys are simply symbols that you can use to easily categorize your entries as task, event, or note for reference throughout the journal. Because writing the same words over and over isn’t always the best option.
Here’s why keys are important,
- Keys are efficient
- Save time
- Easy to classify
- Can be personalized
- Saves space
- More Neater
In the original bullet journal setup, Ryder Carroll used this set of symbols as key.
‘•’ refers to a task , i.e. things you have to do.
‘-‘ refers to a note, i.e. something you need to remember
◯ refers to an event, i.e. noteworthy moments in life
⦻ refers to a completed task
‘>’ refers to a task that is moved to the next day
‘<‘ refers to a scheduled task
a̶b̶c̶ refers to an irrelevant task
While this is the original key, you can always use symbols that are more meaningful to you. Here’s what my bullet journal key looks like,
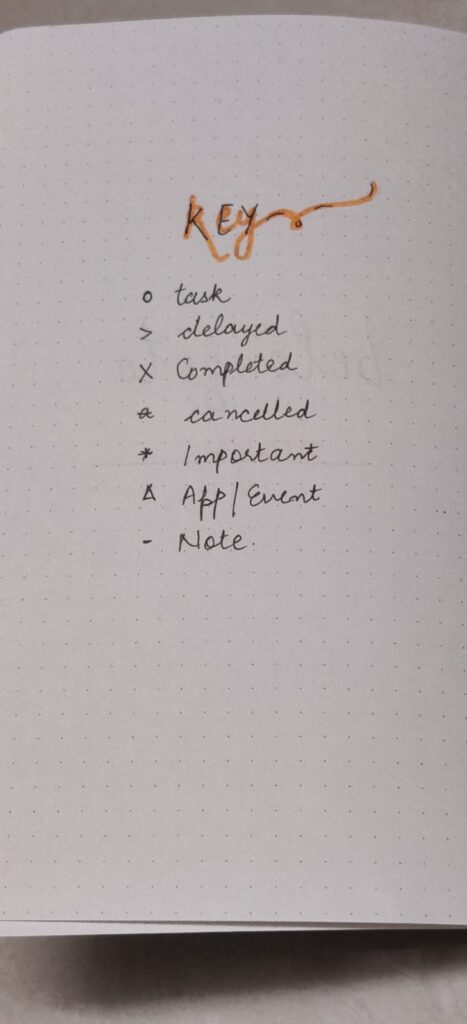
Some people also use color coding to categorize their entries and mention that in their key. For example, red is for school and green is for family.
For Day 3 On How To Start A Bullet Journal
If you don’t get too artsy, designing these three pages should take you no more than 25 minutes. Congrats on completing your first few pages! Tomorrow, you’ll design your future log. Get pumped!

Pingback: How To Create A Future Log In Bullet Journal (For Beginners) – Kokumber
Pingback: How To Start A Bullet Journal (For Not-So-Creative Beginners) – Kokumber
Pingback: How To Set New Year Goals Using Bullet Journal Spreads – Kokumber
Pingback: How To Stay Motivated - Using Bullet Journal Spreads – Kokumber
Pingback: Bullet Journal Page Ideas For Beginners For A Better 2022 – Kokumber
Pingback: How To Create A Bullet Journal Monthly Spread (With Ideas) – Kokumber
Pingback: Fun Bullet Journal Spreads For Habit Tracker & Mood TrackeR – Kokumber
Pingback: Minimalist Bullet Journal Weekly Spread Ideas For Beginners – Kokumber
Pingback: 15 Easy Bullet Journal Page Ideas-Bullet Journal Collections – Kokumber